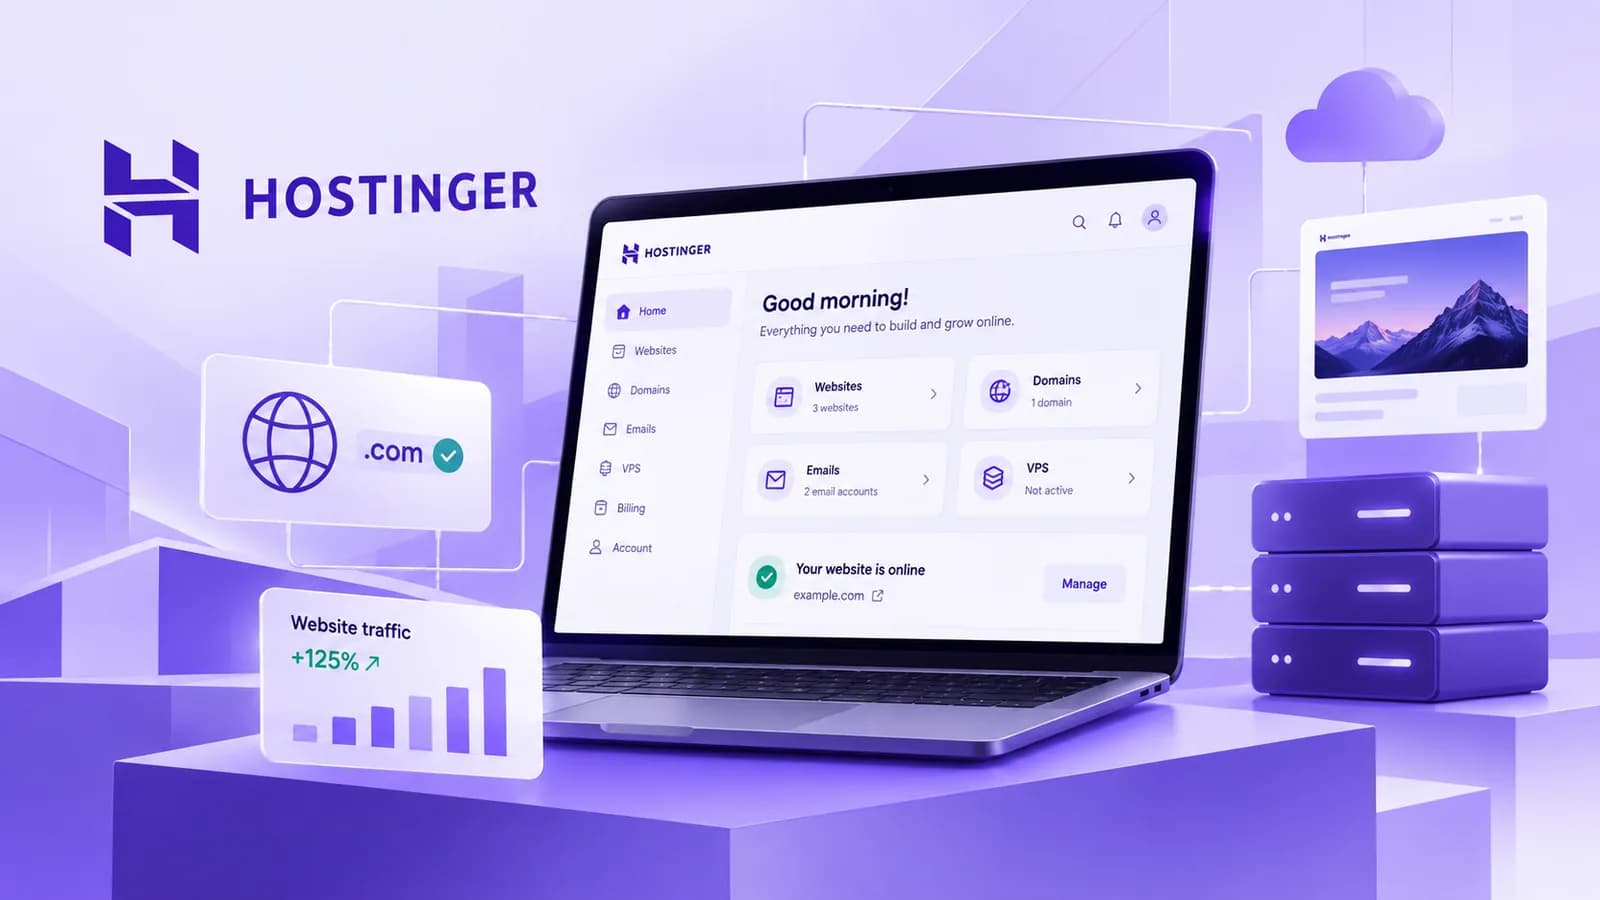
Your website is the one place online that you fully own. Social media accounts can get restricted, algorithms change, and marketplaces take a cut. A website with your own domain is where customers find your hours, your menu, your services, and a clear way to contact you.
The good news: getting one online is no longer complicated or expensive. In this guide we walk you through how we set up websites on Hostinger, the hosting provider we use for our own site and for many of our clients.
The first part is for business owners with no technical background. The second part is for developers who want to deploy modern apps (like Next.js) straight from GitHub.
What is web hosting (and why Hostinger)?
Think of it this way:
- Your domain is your address (for example,
yourbusiness.com). - Your hosting is the building where your website lives.
- Your website is everything inside: pages, photos, forms, and text.
You need all three. Hostinger bundles them in one place, which is why we like it for small businesses:
- Affordable intro pricing, with a free domain for the first year on most hosting plans.
- Free SSL (the padlock in the browser), activated automatically.
- Professional email included, so you can use
hello@yourbusiness.cominstead of a Gmail address. - hPanel, a control panel that is clean and easy to understand, even if you have never managed a website.
- One-click WordPress and an AI website builder if you want to start fast.
- Node.js and GitHub deployments on higher plans, for custom-coded sites.
Part 1: Launch your business website (beginner guide)
Step 1: Choose the right plan
Hostinger's plan names and prices change from time to time, so always check the current plans here. As a rule of thumb:
| If you... | Look for |
|---|---|
| Need one simple site (restaurant, salon, local service) | An entry-level web hosting plan |
| Plan to have more than one site, or want daily backups | A mid-tier web hosting plan |
| Expect higher traffic, run an online store, or need Node.js apps | A Cloud plan |
| Are an agency managing many client sites | An Agency plan |
Our tip: the lowest monthly price usually comes with the longest term (24 or 48 months). That is a good deal if you are committed to your business, but note the renewal price, which is higher than the intro price. Plan for it.
Step 2: Secure your domain
Right after checkout, Hostinger's setup wizard asks you to claim your domain. Most hosting plans include one free for the first year.
A few rules we give every client:
- Keep it short and easy to spell. If you have to explain it over the phone twice, it is too long.
- Prefer
.comfor businesses in the US. Use a local extension (.mx,.co,.ch) if your customers are in that country. - Avoid hyphens and numbers unless they are part of your brand.
- Say it out loud in both languages if you serve English and Spanish speakers. Make sure it does not sound strange in either one.
If you already own a domain somewhere else (GoDaddy, Namecheap, Squarespace), you can connect it to Hostinger by changing its nameservers, or transfer it completely.
Step 3: Choose how you want to build
The wizard will ask how you want to create your site. You have three main paths:
- WordPress (our usual recommendation for businesses). Flexible, huge ecosystem of plugins, and easy to hand off to anyone later. Hostinger installs it for you and can even generate a starter design with AI.
- Hostinger Website Builder. Drag and drop, very beginner-friendly, and fast to launch. Great for a simple one-to-five page site.
- Custom code. If a developer or agency is building your site (like we do at JG Graphic), you will use the Node.js or file upload options covered in Part 2.
For WordPress, you will pick a server location (choose the one closest to your customers), create an admin username and a strong password, and let Hostinger finish the installation. It takes a few minutes.
Step 4: Set up your professional email
Nothing says "real business" like an email at your own domain. In hPanel, go to Emails, create your mailbox (for example info@ or hello@), and you are set. You can read it in Hostinger's webmail or connect it to Gmail, Outlook, or your phone.
Important: if you send forms from your website (contact forms, booking requests), make sure your domain's email records (SPF, DKIM, DMARC) are set up. Hostinger configures most of this automatically for its own email, but if you use another provider like Google Workspace, you will need to add their records too. This is the number one reason contact form emails end up in spam.
Step 5: Make sure SSL is active
Hostinger activates a free SSL certificate automatically when your domain is connected. To double check, open your site and look for the padlock next to the address. In hPanel you can also confirm it under Security > SSL. Without SSL, browsers show a "Not secure" warning that scares customers away.
Step 6: Build your key pages
A small business website does not need 20 pages. Start with:
- Home: who you are, what you do, and one clear call to action ("Book now", "Order online", "Get a quote").
- Services or Menu: what you offer, with prices if possible.
- About: your story. People buy from people.
- Contact: phone, WhatsApp, address with a map, hours, and a simple form.
If you serve a bilingual audience, add a language switch from day one. It is much easier than retrofitting it later.
Step 7: Launch checklist
Before you share your link, check:
- The site looks good on a phone (most of your visitors will be on mobile).
- Every button and link works.
- The contact form actually delivers to your inbox.
- Images are compressed (we use WebP) so pages load fast.
- Your site is connected to Google Search Console and your Google Business Profile links to it.
- Automatic backups are turned on in hPanel.
Part 2: For developers, deploying Node.js apps from GitHub
This is how we host jggraphic.com, a Next.js app, on Hostinger with automatic deploys.
Node.js web apps are available on Hostinger's higher-tier web hosting plans and on Cloud plans. Check the plan comparison before you buy if this is your use case.
1. Create the app
In hPanel go to Websites > Add Website > Node.js web app > Import Git repository, then authorize GitHub and select your repo. Your package.json must be at the root of the app (or set the root directory if you use a monorepo).
2. Review the build settings
Hostinger auto-detects popular frameworks from package.json. Confirm:
- Framework preset (for example, Next.js)
- Branch to deploy (usually
main) - Node.js version (18, 20, 22, or 24 at the time of writing)
- Build command (usually
npm run build) - Output directory (for Next.js,
.next)
3. Add environment variables
Add your API keys and secrets under Environment variables. They are injected at both build time and runtime and persist between deployments. Never commit .env files to your repo.
4. Push to deploy
From then on, every push to your deploy branch triggers a new build: Hostinger pulls the code, runs npm install, runs your build, and restarts the app. Build and runtime logs live under Deployments in hPanel, which is the first place to look if something breaks.
Lessons we learned the hard way
- Email "from" addresses must match your verified domain. If you use a transactional email service like Resend, the sender address must use the exact domain or subdomain you verified. A mismatch fails silently and your form looks broken.
- Check your DNS when you have two domains. If you own variations of your domain (with and without a hyphen, for example), decide which one hosts the site and which one handles email, then point the rest with redirects. Mixing them up causes hours of confusion.
- Optimize images before you commit them. Large images slow builds and pages. Convert to WebP and resize to the size they are actually displayed.
- Read the build log first. Nine out of ten failed deploys are a missing environment variable or a Node version mismatch.
Frequently asked questions
Is Hostinger good for small businesses?
Yes. It is one of the most affordable ways to get a fast, secure site with a domain and email in one place. It covers what most restaurants, beauty brands, and service businesses need.
Can I move my existing website to Hostinger?
Yes. Hostinger offers free website migration on its hosting plans. You can request it from hPanel after purchase.
Do I need to know how to code?
No. WordPress and the Website Builder do not require code. You only need technical knowledge for the developer path in Part 2.
What happens when my plan renews?
Renewal prices are higher than the introductory price. Check the renewal rate at checkout so there are no surprises.
Would you rather have us build it for you?
Setting up hosting is the easy part. Designing a site that looks professional, loads fast, and actually turns visitors into customers is where most businesses get stuck.
At JG Graphic we design and develop bilingual websites for restaurants, beauty brands, and service businesses, from the domain to launch day.
- Start your project and tell us what you need.
- Not sure where to begin? Get a free brand and website audit.
If you decide to do it yourself, get started with Hostinger here. Good luck with your launch.